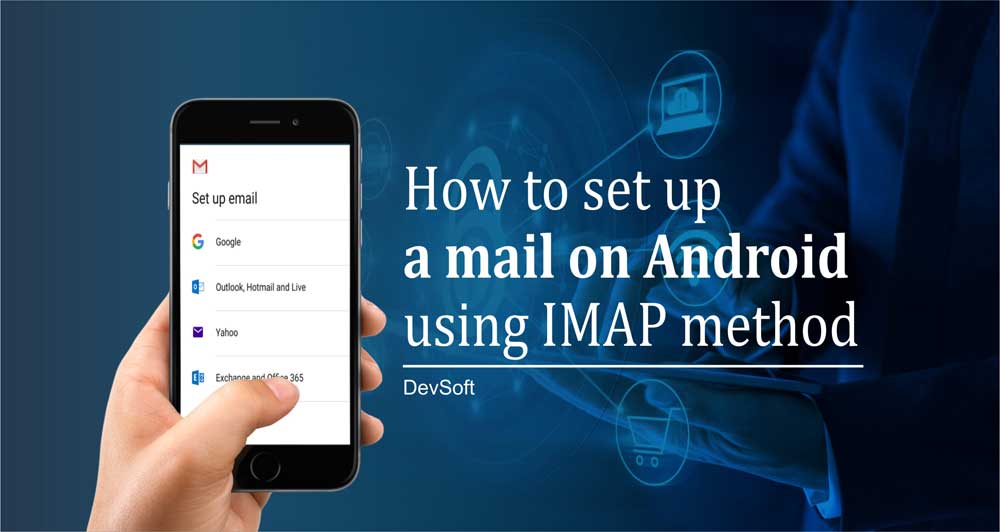
Android mail apps may look different across different devices, and these directions may not exactly match the options you see. Use these steps as a guide or consult the manufacturer’s help for your particular device.
In this article, we will guide you on how to setup an email in Android devices so you can easily check and manage your email account from any location.
Before You Begin to set up email in Android
- You will need your POP and SMTP settings to complete this tutorial. You can find your email settings in cPanel.
- If you previously created an email forwarder to your Gmail account, you will need to remove it. You can’t receive emails if there’s a forwarder in place.
- We recommend using the secure (SSL) settings. Using SSL email settings is more secure as it encrypts the data while in transit.
In order to setup your email account on an Android device, the first thing you need to do is find your email account details. They are located on your CPanel dashboard.
1. Log in to your Devsoft account. Then, navigate to Emails -> Email Accounts.
To configure email in Android device to work with your DevsoftHosting e-mail account, follow these steps:
- Tap Settings, and then tap Accounts.
- Tap Add account, and then:
- To set up a POP3 account, tap Personal (POP3).
- To set up an IMAP account, tap Personal (IMAP).
- In the Add your email address text box, type the e-mail address of the account that you created in cPanel (for example, user@example.com).
- Tap MANUAL SETUP.
- For the account type, tap Personal (POP3) or Personal (IMAP).
- In the Password text box, type the password for the e-mail account that you created in cPanel.
- Tap NEXT. The Incoming server settings page appears.
- In the Username text box, confirm the e-mail address that you typed in step 3.
- In the Password text box, confirm the password that you typed in step 6.
- In the Server text box, type the A2 Hosting server name for your account.
- Tap NEXT. The Outgoing server settings page appears.
- In the Username text box, confirm the e-mail address that you typed in step 3.
- In the Password text box, confirm the password that you typed in step 6.
- In the Server text box, type the A2 Hosting server name for your account.
- Tap NEXT. The Account options page appears.
- In the Sync frequency list box, select how often you want to synchronize the account with the device.
- Configure the other account options:
- To receive notifications for new messages, select the Notify me when email arrives check box.
- To synchronize messages, select the Sync email from this account check box.
- If you are configuring an IMAP account, to download attachments when the device is connected to a Wi-Fi network, select the Automatically download attachments when connected to Wi-Fi check box.
- Tap NEXT. The Your account is set up and email is on its way! message appears:
- To change the account name, type the new name in the Account name (optional) text box.
- To change the display name that appears on messages that you send from this account, type the new name in the Your name text box.
- Tap NEXT. The Accounts page appears.
- To view the inbox for the new account, tap the home button, access the application list, and then tap Gmail.
- Tap the
 (settings) icon.
 - Tap the down arrow, and then select the new account. The inbox appears.
Host Your Own Email
Professional Email for Power Users with Extra Storage
Ever wanted to have your own custom email address? Click Here to learn how.
More Information
Need email hosting? A2 Hosting offers a variety of plans to meet your needs. Click Here to learn more.
 DevSoft Innovate Things Better


